

findViewById is one of the most annoying boilerplate code in Android application development. This part of code unnecessarily requires bunch of line of codes and can easily cause an expected behavior unintentionally.
Some library was invented to reduce this part of code's size, for example, the popular Butter Knife which adopts Annotation processing to help mapping between Java's variable and ID declared inside layout XML file.
class ExampleActivity extends Activity {
    @BindView(R.id.title) TextView title;
    @BindView(R.id.subtitle) TextView subtitle;
    @BindView(R.id.footer) TextView footer;

    @Override public void onCreate(Bundle savedInstanceState) {
        super.onCreate(savedInstanceState);
        setContentView(R.layout.simple_activity);
        ButterKnife.bind(this);
        // TODO Use fields...
    }
}
Anyway, although it could help reducing a signifant number of line of codes but it still requires some effort and can still cause some mistake since you still have to declare @BindView manually one by one.
Here we go. This blog will introduce you the perfect solution to totally eliminate these annoying codes away using god-level Data Binding Library.
Tools Preparation
To use Data Binding Library, you need to use Android Studio 1.5 or higher version. Anyway I believe that most of you have already upgraded to version 2.0 already so this should not be a problem.
And then open module's build.gradle and add the following line in android block to enable Data Binding.
android {
    ...
    dataBinding {
        enabled true
    }
}
Sync Gradle to finish the process and done. Your project has now gained access to Data Binding Library. Easy, huh? =)
Inflate Layout in Data Binding's way
Layout is required some change to let Data Binding be usable. Here is the original one:
<?xml version="1.0" encoding="utf-8"?>
<RelativeLayout xmlns:android="http://schemas.android.com/apk/res/android"
    xmlns:app="http://schemas.android.com/apk/res-auto"
    xmlns:tools="http://schemas.android.com/tools"
    android:id="@+id/activity_main"
    android:layout_width="match_parent"
    android:layout_height="match_parent"
    tools:context="com.inthecheesefactory.lab.databinding.MainActivity">

    <TextView
        android:id="@+id/tvHello"
        android:layout_width="wrap_content"
        android:layout_height="wrap_content"
        android:layout_centerInParent="true"
        android:text="Hello World!" />

</RelativeLayout>
<layout>...</layout> tag is required to be a Root Element and then move everything inside it. Here is the modified version:
<?xml version="1.0" encoding="utf-8"?>
<layout xmlns:android="http://schemas.android.com/apk/res/android"
    xmlns:app="http://schemas.android.com/apk/res-auto"
    xmlns:tools="http://schemas.android.com/tools">

    <RelativeLayout
        android:id="@+id/activity_main"
        android:layout_width="match_parent"
        android:layout_height="match_parent"
        tools:context="com.inthecheesefactory.lab.databinding.MainActivity">

        <TextView
            android:id="@+id/tvHello"
            android:layout_width="wrap_content"
            android:layout_height="wrap_content"
            android:layout_centerInParent="true"
            android:text="Hello World!" />

    </RelativeLayout>
</layout>
At this step, please build your project to let Data Binding Library auto generating neccessary files for you. You need those for the further steps.
After build is done, open your Activity's java file and change setContentView part of code from:
public class MainActivity extends AppCompatActivity {

    @Override
    protected void onCreate(Bundle savedInstanceState) {
        super.onCreate(savedInstanceState);
        setContentView(R.layout.activity_main);
    }

}
into:
public class MainActivity extends AppCompatActivity {

    ActivityMainBinding binding;

    @Override
    protected void onCreate(Bundle savedInstanceState) {
        super.onCreate(savedInstanceState);
        binding = DataBindingUtil.setContentView(this, R.layout.activity_main);
    }

}
You may notice that ActivityMainBinding is used here although you didn't declare it anywhere. There is nothing magical here. ActivityMainBinding.java was previously auto generated by Data Binding Library when you built your app minutes ago. Its class name comes from activity_main.xml file's name which is turned into Upper CamelCase before appending with Binding, ActivityMainBinding. This is the way this library use to turn file's name into class name. You can use this logic in every single case.
And now it's time to access View inside activity_main.xml. Well ... you can simply access it through binding variable using its ID like this !
binding.tvHello.setText("Hello from Data Binding");Here is the result.
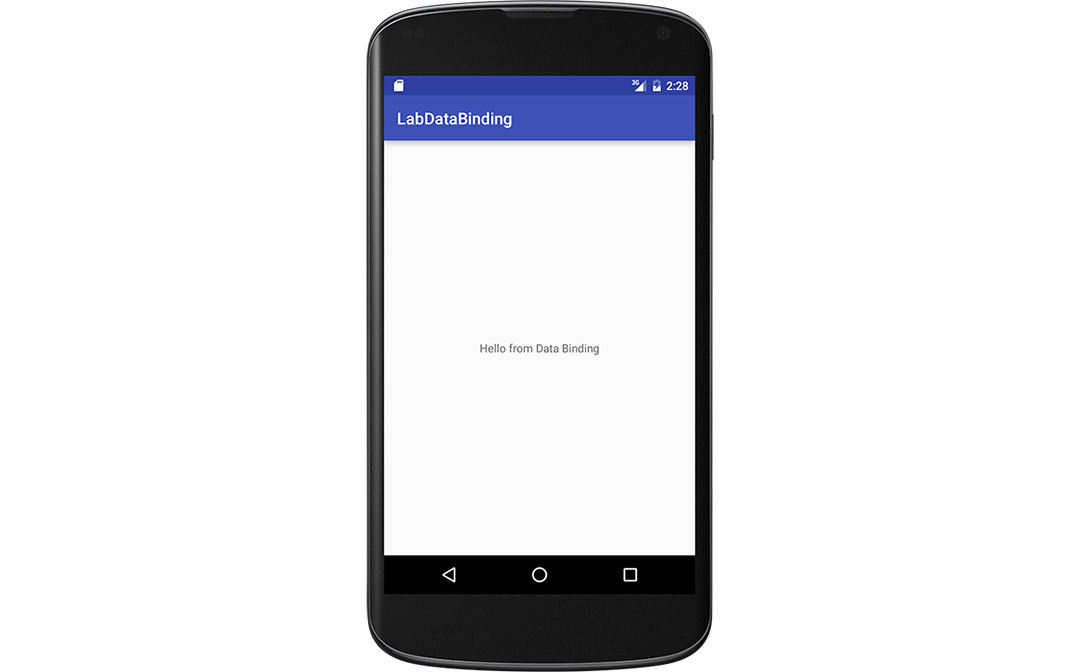
As you can see, boilerplate findViewById code are all eliminated. Moreover, you have no need to declare even a single variable to access View. The code will still be the same although you add more 100 Views to this layout. Cool, isn't it ?!?
Inflating into Custom ViewGroup
The way to inflate your layout into Activity has already shown above. And how's about inflating into Custom ViewGroup or Layout to create your Custom View. Can we do it? Definitely yes ! And it is as easy as above sample.
First of all, you need to modify your layout XML file by adding <layout>...</layout> as a Root Element.
item_bloglist.xml
<?xml version="1.0" encoding="utf-8"?>
<layout xmlns:android="http://schemas.android.com/apk/res/android">

    <LinearLayout
        android:layout_width="match_parent"
        android:layout_height="match_parent"
        android:orientation="vertical"
        android:padding="16dp">

        <TextView
            android:id="@+id/tvTitle"
            style="@style/TextAppearance.AppCompat.Title"
            android:layout_width="wrap_content"
            android:layout_height="wrap_content"
            android:text="Title" />

        <TextView
            android:id="@+id/tvCaption"
            style="@style/TextAppearance.AppCompat.Caption"
            android:layout_width="wrap_content"
            android:layout_height="wrap_content"
            android:text="Caption" />

    </LinearLayout>

</layout>
And then use this line of code to inflate the layout.
ItemBloglistBinding binding = ItemBloglistBinding.inflate(layoutInflater, root, attachToRoot);Code pattern is still be the same as the way we normally do layout inflation. The only change is you need to inflate using the auto-generated Binding class instead, which is ItemBloglistBinding in this example. Again, its name is converted from item_bloglist.xml.
Here is the full code snippet how to inflate item_bloglist.xml into FrameLayout and automatically gain access to all Views indie.
package com.inthecheesefactory.lab.databinding;

import android.annotation.TargetApi;
import android.content.Context;
import android.os.Build;
import android.util.AttributeSet;
import android.view.LayoutInflater;
import android.widget.FrameLayout;

import com.inthecheesefactory.lab.databinding.databinding.ItemBloglistBinding;

/**
 * Created by nuuneoi on 6/28/2016.
 */

public class BlogListItem extends FrameLayout {

    ItemBloglistBinding binding;

    public BlogListItem(Context context) {
        super(context);
        initInflate();
        initInstances();
    }

    public BlogListItem(Context context, AttributeSet attrs) {
        super(context, attrs);
        initInflate();
        initInstances();
    }

    public BlogListItem(Context context, AttributeSet attrs, int defStyleAttr) {
        super(context, attrs, defStyleAttr);
        initInflate();
        initInstances();
    }

    @TargetApi(Build.VERSION_CODES.LOLLIPOP)
    public BlogListItem(Context context, AttributeSet attrs, int defStyleAttr, int defStyleRes) {
        super(context, attrs, defStyleAttr, defStyleRes);
        initInflate();
        initInstances();
    }

    private void initInflate() {
        LayoutInflater inflater = (LayoutInflater) getContext().getSystemService(Context.LAYOUT_INFLATER_SERVICE);
        binding = ItemBloglistBinding.inflate(inflater, this, true);
    }

    private void initInstances() {

    }

}
Yah, you now have a Custom ViewGroup containing item_bloglist.xml layout inside. To access any View inside, you could simply do the same fancy way:
    private void initInstances() {
        binding.tvTitle.setText("I am the Title");
    }
Now let's try to place it somewhere in activity_main.xml.
<?xml version="1.0" encoding="utf-8"?>
<layout
    ...>

    <RelativeLayout
        ...>

        ...

        <com.inthecheesefactory.lab.databinding.BlogListItem
            android:layout_width="match_parent"
            android:layout_height="wrap_content" />

    </RelativeLayout>
</layout>
Here is the result.
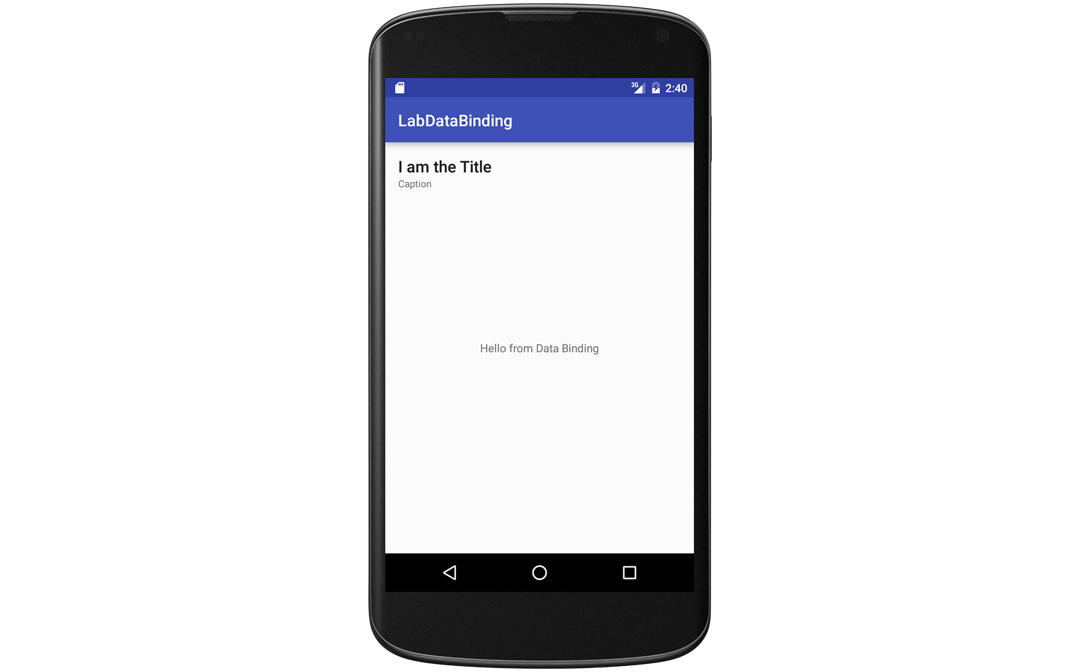
I must say that code is pretty short and really nice =)
How Data Binding Library convert ID into variable name
You can notice in the sample above that every single @+id declared in XML file are automatically turned into Java variables as XXXBinding's member variable. We should know more in details on how this library uses to convert the id to variable name to prevent the further problem.
Actually the way this library use to convert id to variable name is as simple as: "Turn every id(s) into camelCase"
for instance,
@+id/tvHello
This is already in camelCase format so the variable name in Java is simply be tvHello
@+id/tv_hello
This is in Underscores format. It will be converted into camelCase first to match the rule so it will also be tvHello as above
And what will happen if those two ids are declared into same XML files like this?:
        <TextView
            android:id="@+id/tvHello"
            android:layout_width="wrap_content"
            android:layout_height="wrap_content"
            android:layout_centerInParent="true"
            android:text="Hello World!" />

        <TextView
            android:id="@+id/tv_hello"
            android:layout_width="wrap_content"
            android:layout_height="wrap_content"
            android:layout_centerInParent="true"
            android:text="Hello World!" />
Don't worry that there would be a problem. Data Bind Library is smart enough to seperate those two apart. But since those variable names are just the same so at the final, you will get two variables: tvHello and tvHello1 instead to access those two TextView respectively.
Anyway, although it is usable but it may cause some confusion. To prevent this, it is recommended to set id in only a single format, either camelCase or Underscores. Choose just only one and everything will be good.
Conclusion
This is only a small part of Data Binding Library's potential but I must say that it is the killer feature which could improve your code's quality quite a lot. There are still be a lot that this library is really useful for your application. If you have time, I suggest you to study more about this Data Binding Library. It's a game changer =)
Bonus: Kotlin Android Extensions
If you are developing your Android application using Kotlin. There is also the similar thing named Kotlin Android Extensions available. It is even easier since you have no need to modify the layout even bit. If you are Kotlin's fan, go for it =)
 |
Author: nuuneoi (Android GDE, CTO & CEO at The Cheese Factory) A full-stack developer with more than 6 years experience on Android Application Development and more than 12 years in Mobile Application Development industry. Also has skill in Infrastucture, Service Side, Design, UI&UX, Hardware, Optimization, Cooking, Photographing, Blogging, Training, Public Speaking and do love to share things to people in the world!
|